Aberrus

The Amalgamation Chamber

Boss #2
RAID DIFFICULTY
Pick a difficulty for the strategy
Role Filter
We will filter out things to ignore
NO TIME?
TLDR please?

Strategy Guide

In collaboration with
Echo Logo
#1 Raiding Guild in the world, multiple time MDI Winners, Echo is the leading guild in World of Warcraft.
Twitter IconYoutube IconTwitch Icon
Analyse your pulls with
Wipefest Logo
WIPEFEST.GG
Progress faster by receiving valuable insights and visualisations of your logs!
Start analyzing
FIGHT OVERVIEW
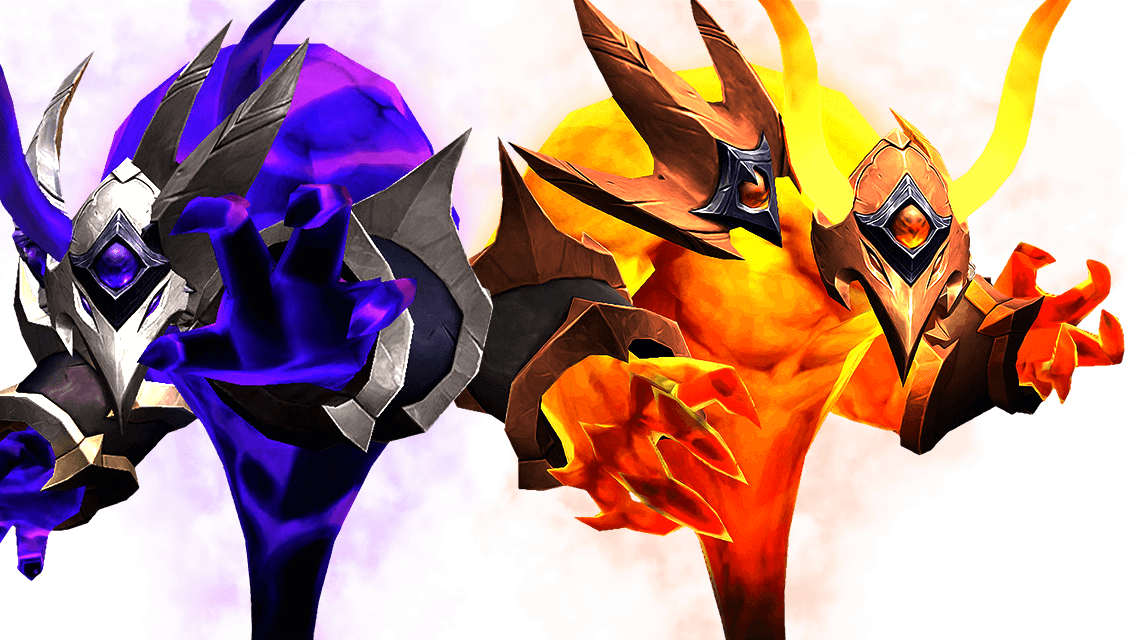
  • Two phase fight. In P1 you fight 2 Elementals with different abilities. When one drops to 50% HP, they merge and P2 starts.

  • In P1, on Normal, tank the 2 Elementals together. Bring them both to 50% HP at the same time to shorten P2.

  • In Pi, if you're within 50yd of an Elemental, you gain stacks of its DoT. On Normal the raid will stack both DoTs but P2 should start before it becomes dangerous.

  • When either Elementals drops to 50% HP, they merge and P2 starts. The new Elemental combines their remaining HP and abilities.

PHASE
1

You fight the Elemental of Shadow and of Fire at the same time.


Raid damage taken ramps up. Bring them both to 50% HP at the same time.

EVERYONE

TANK BOTH ELEMENTALS TOGETHER.

THE RAID TAKES MORE

DAMAGE AS P1 GOES ON.

Play Button
SHARE LINK
Corrupting Shadow - Blazing Heat
Permanent Aura

Players within 50yd of the Fire Elemental stack a 20s Fire DoT.


Players within 50yd of the Shadow Elemental stack a 20s Shadow DoT that reduces their max HP.


On Normal, tank both Elementals together; they should drop to 50% HP before the accumulation of both DoTs becomes dangerous.

Essence of Shadow

Shadow Elemental Abilities

EVERYONE

MOVE AWAY FROM

THE DETONATION POINT.

Play Button
SHARE LINK
Coalescing Void
3s Cast

The boss marks a giant circle that will explode, dealing huge damage to players within 50yd. Damage is reduced the farther away you are from the detonation.

EVERYONE

MOVE OUT OF THE

RAID WITH CIRCLES.

Play Button
SHARE LINK
Umbral Detonation
2s Cast

Multiple players are marked with a circle. After 6s they explode and drop a big puddle.

SHARE LINK
Shadow Spike
2s Cast

Burst of damage on the current tank.

SHARE LINK
Shadow Spike
2s Cast

Burst of damage on the current tank.

Eternal Blaze

Fire Elemental Abilities

EVERYONE

SOAK THE METEORE.

Play Button
SHARE LINK
Fiery Meteor
5s Cast

The boss drops a massive meteor that must be soaked. Damage is split between players hit.

EVERYONE

DODGE THE TORNADOES.

Play Button
SHARE LINK
Swirling Flame
2s Cast

The boss turns toward a player and launches a wave of fire tornadoes.

SHARE LINK
Flame Slash
2s Cast

Burst of damage on the current tank.

SHARE LINK
Flame Slash
2s Cast

Burst of damage on the current tank.

INTERMISSION

When either Elemental drops to 50% HP,

they become immune and merge into

a new Shadowflame Elemental.

EVERYONE

BRING BOTH ELEMENTALS TO

50% HP AT THE SAME TIME. DODGE

THE PUDDLES WHILE THEY MERGE.

Play Button
SHARE LINK
Splintered Flames / Shadow
Beginning of P2

Once either Elemental reaches 50% HP, they merge. Dodge the various projectiles while they're merging.


Balance your DPS to bring both Elementals around 50% HP at the same time to make P2 shorter and easier.

PHASE
2

The new Shadowflame Elemental combines their remaining HP and abilities.


The raid takes more damage as the phase goes on

EVERYONE

SOAK TOGETHER

THEN MOVE OUT.

Play Button
SHARE LINK
Gloom Conflagration
5s Cast

The boss drops a massive meteor that must be soaked by at least 5 players. Damage is split between players hit.


The meteor drops an orb that will explode 5s later, dealing huge damage to all players. Damage is reduced the farther away players are from it.

EVERYONE

MOVE OUT WITH

CIRCLES AND DODGE

THE TORNADOES.

Play Button
SHARE LINK
Blistering Twilight
2s Cast

Multiple players are marked with a circle. After 6s they explode and drop a big puddle.


Each explosion will also launch a few fire tornadoes across the room.

EVERYONE

DODGE THE CONE.

Play Button
SHARE LINK
Shadowflame Burst
2s Cast

Frontal cone on the tank that deals a large hit of Shadowflame damage.

SHARE LINK
Withering Vulnerability
2s Cast - Tank Mechanic

Large hit of damage on the tank which causes them to take 200% more Shadowflame damage for 10s.


Makes the tanks very vulnerable to the frontal cone of the boss.

SHARE LINK
Shadowflame Contamination
Permanent Aura

Throughout the phase, the raid stacks a DoT that deals increasing damage and reduces players' maximum HP.


Kill the boss before it kills you.

SHARE LINK
Withering Vulnerability
2s Cast - Tank Mechanic

Large hit of damage on the tank which causes them to take 200% more Shadowflame damage for 10s.


Makes the tanks very vulnerable to the frontal cone of the boss.

SHARE LINK
Shadowflame Contamination
Permanent Aura

Throughout the phase, the raid stacks a DoT that deals increasing damage and reduces players' maximum HP.


Kill the boss before it kills you.

0

RESOURCES

1
General Aberrus By Causese

A general WeakAura pack that provides "icon" style mechanics/debuff as well as short descriptions for each. Pretty standard. We also recommend downloading Causese Sound addon to hear vocal announcements. Feel free to thank the amazing Causese here (sorry, no Twitter that I know of...).

2
Co Tank Weakaura By Causese

Another must have by Causese if you play or are planning to play tank. It informs you when to taunt and how your co-tank is doing with their mechanics.


Make sure to checkout the Causese Sound addon to also pair it with appropriate sound announcements.

3
Raid Leader Exchange Discord

Stuck in your progress? Have any question about a certain boss or mechanics and how to deal with it? Want to help and support fellow raiders? Join this fantastic Discord, and let's build a Raid helping community.

The Amalgamation Chamber Picture
Wipefest Logo
WIPEFEST.GG
Help your team reach its full potential.
Find a log for the fight that you want to analyse, and Wipefest will do the rest, by using data from Warcraft Logs to display insights and timelines for raid encounters.

Answer common mechanical questions about every pull, while the timeline aims to give a concise high-level overview of what is happening in a fight.
START ANALYZING NOW
The Amalgamation Chamber
AVAILABLE ANALYSIS
- Orbs damage taken
- Hit by fire tornadoes
- Various soaks
- Much more
-
CREDITS

Credits to our fantastic partner Echo for the gameplay footage and boss strategies.


Thanks to Katskratches our copywriter and Layria, our amazing English copy editor. Be sure to check out Layria's Twitch channel for M+ healing and raiding!


Credits to Akmi for the video editing. If you're looking for a video editor, feel free to DM him on our Discord!