
- Throne of Thunder
- Manaforge Omega
- MSV / HoF / ToES
- Liberation of Undermine
- Dragon Soul
- Nerub-ar Palace
- TotFW / BWD / BoT
- Ruby Sanctum
- Rotmire
- Imperator Averzian
- Vorasius
- Vaelgor & Ezzorak
- Fallen-King Salhadaar
- Lightblinded Vanguard
- Crown of the Cosmos
- Chimaerus the Undreamt God
- Belo'ren, Child of Al'ar
- Midnight Falls
- Immerseus
- Fallen Protectors
- Norushen
- Sha of Pride
- Galakras
- Iron Juggernaut
- Kor'kron Dark Shaman
- General Nazgrim
- Malkorok
- Spoils of Pandaria
- Thok the Bloodthirsty
- Siegecrafter Blackfuse
- Paragons of the Klaxxi
- Garrosh Hellscream
- Jin'rokh the Breaker
- Horridon
- Council of Elders
- Tortos
- Megaera
- Ji-Kun
- Durumu the Forgotten
- Primordius
- Dark Animus
- Iron Qon
- Twin Empyreans
- Lei Shen
- Ra-den
- Plexus Sentinel
- Loom'ithar
- Soulbinder Naazindhri
- Forgeweaver Araz
- The Soul Hunters
- Fractillus
- Nexus-King Salhadaar
- Dimensius, the All-Devouring
- The Stone Guard
- Feng the Accursed
- Gara'jal the Spiritbinder
- The Spirit Kings
- Elegon
- Will of the Emperor
- Imperial Vizier Zor'lok
- Blade Lord Ta'yak
- Garalon
- Wind Lord Mel'jarak
- Amber-Shaper Un'sok
- Grand Empress Shek'zeer
- Protectors of the Endless
- Tsulong
- Lei Shi
- Sha of Fear
- Vexie and the Geargrinders
- Cauldron of Carnage
- Rik Reverb
- Stix Bunkjunker
- Sprocketmonger Lockenstock
- One-Armed Bandit
- Mug'Zee, Heads of Security
- Chrome King Gallywix
- Morchok
- Warlord Zon'ozz
- Yor'sahj the Unsleeping
- Hagara the Stormbinder
- Ultraxion
- Majordomo Staghelm
- Spine of Deathwing
- Madness of Deathwing
- Ulgrax the Devourer
- Bloodbound Horror
- Sikran, Captain of the Sureki
- Rashanan
- Broodtwister Ovinax
- Nexus Princess Kyveza
- Silken Court
- Queen Ansurek
- Conclave of Wind
- Al'akir
- Omnotron Defense System
- Magmaw
- Atramedes
- Chimaeron
- Maloriak
- Nefarian
- Halfus Wyrmbreaker
- Valiona & Theralion
- Ascendant Council
- Cho#gall
- Sinestra
- Kazzara
- The Amalgamation Chamber
- The Forgotten Experiments
- Assault of the Zaqali
- Rashok, the Elder
- Zskarn
- Magmorax
- Echo of Neltharion
- Scalecommander Sarkareth
- Lord Marrowgar
- Lady Deathwhisper
- Gunship Battle
- Deathbringer Saurfang
- Festergut
- Rotface
- Professor Putricide
- Blood Prince Council
- Blood-Queen Lana'thel
- Valithria Dreamwalker
- Sindragosa
- The Lich King
- Halion
- Northrend Beasts
- Lord Jaraxxus
- Faction Champions
- Twin Val'kyr
- Anub'Arak
战术攻略
非常感谢 Pit & Jeri 作为中文文本的编辑所做的出色工作。
这场战斗只有一个阶段。首领在生命值降至 75% 时开始施放风爆弹。
所有人
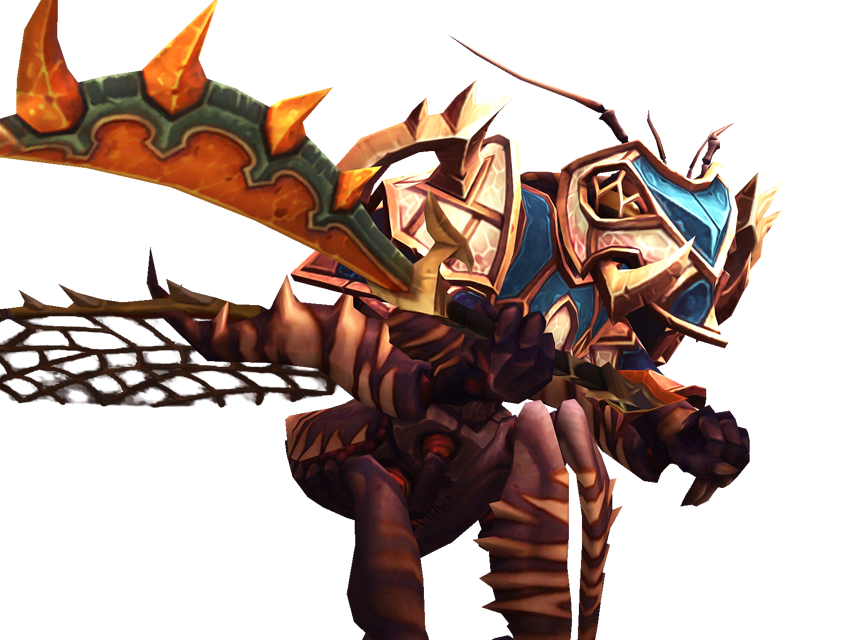
躲开回旋之刃

风领主会投掷出一个类似回旋镖的回旋之刃,对路径上的任何目标造成极高的物理伤害。
当刀刃飞行到达最大距离后,会返回风领主,并造成同样的伤害。
如果在初次投掷时被击中,一定要立刻离开它返回的路径,否则会导致死亡。
远程分散
躲开风爆弹

当风领主血量降至 75% 时,他会开始向随机的远程玩家投掷风爆弹。炸弹的初始伤害会有 5 码范围的溅射,因此分散站位非常重要。
炸弹落地 3 秒后会启动并武装,一旦被触发就会爆炸,对整个团队造成极高的自然伤害。它们会一直存在,直到风领主死亡或被引爆。
玩家必须无论如何都要躲避这些炸弹。
治疗们
使用大招

风领主向全团降下刃雨,对所有玩家造成中等强度的物理伤害。治疗应在此期间开启冷却技能。

这些长矛可以从武器架上拾取,用来眩晕一名虫群成员,持续 50 秒,但在其受到任何伤害时效果会立刻解除。

虫群受到风领主的警觉之眼监视,使你无法控制他所有的手下。
开怪时,你只能控制 4 个小怪。
当第一组小怪被击杀后,你只能控制 2 个小怪。
当第二组小怪被击杀后,你将无法再控制任何小怪。

加速会强化剩余的虫群,使其伤害提高 35%,并提升近战攻击速度,该效果可叠加。
此效果可以被驱散,牧师应在施法结束后立即使用群体驱散。

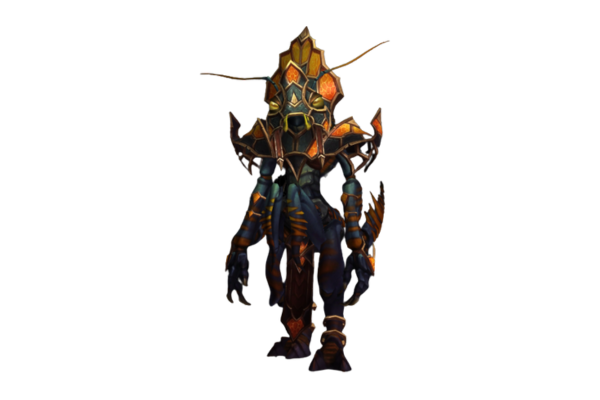
助战者会尝试为其盟友进行治疗,这些施法必须被打断。

风领主在每一组小怪被击杀后都会获得“鲁莽”增益。该增益会使其伤害提高 50%,同时承受的伤害增加 33%,并且可以叠加。
为了尽早让鲁莽开始叠加,应当一次只击杀一组小怪。
常见的策略是:先集火击杀助战者,然后是精英剑圣,最后才是琥珀诱捕者。
在对付其他小怪时,应尽可能长时间地控制住琥珀诱捕者。
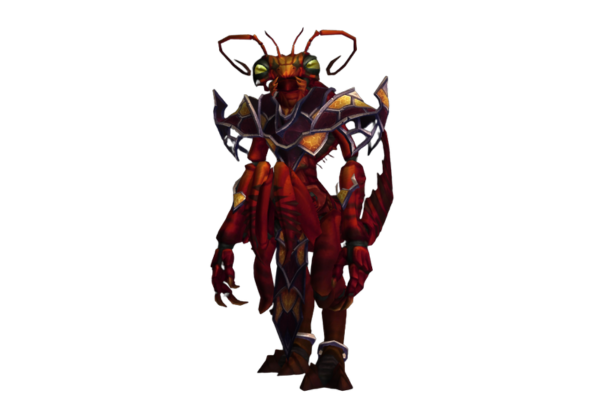


随机一名玩家以及其周围 2 码范围内的所有人会被困在琥珀监牢中。
一定要合理分散站位,以避免过多玩家同时被困。
其他玩家需要点击监牢来解救被困者,但会因此获得“残渣”减益,在接下来的 2 分钟内无法再次解救其他人。
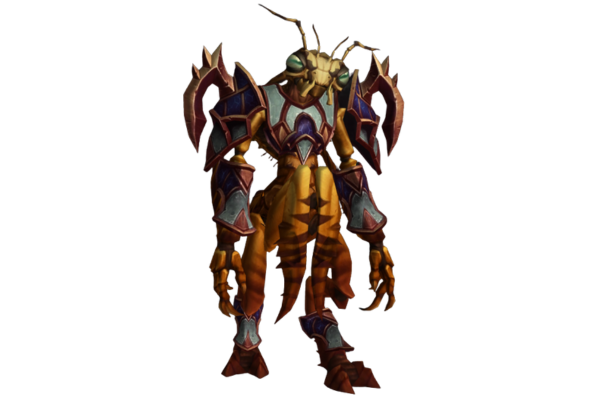

精英剑圣会同时锁定一个目标,并齐齐向其发动攻击。
这会造成极高的物理伤害,必须通过减伤技能来减轻。
这些长矛可以从武器架上拾取,用来眩晕一名虫群成员,持续 50 秒,但在其受到任何伤害时效果会立刻解除。
风领主在每一组小怪被击杀后都会获得“鲁莽”增益。该增益会使其伤害提高 50%,同时承受的伤害增加 33%,并且可以叠加。
为了尽早让鲁莽开始叠加,应当一次只击杀一组小怪。
常见的策略是:先集火击杀助战者,然后是精英剑圣,最后才是琥珀诱捕者。
在对付其他小怪时,应尽可能长时间地控制住琥珀诱捕者。
虫群受到风领主的警觉之眼监视,使你无法控制他所有的手下。
开怪时,你只能控制 4 个小怪。
当第一组小怪被击杀后,你只能控制 2 个小怪。
当第二组小怪被击杀后,你将无法再控制任何小怪。
随机一名玩家以及其周围 2 码范围内的所有人会被困在琥珀监牢中。
一定要合理分散站位,以避免过多玩家同时被困。
其他玩家需要点击监牢来解救被困者,但会因此获得“残渣”减益,在接下来的 2 分钟内无法再次解救其他人。
加速会强化剩余的虫群,使其伤害提高 35%,并提升近战攻击速度,该效果可叠加。
此效果可以被驱散,牧师应在施法结束后立即使用群体驱散。
助战者会尝试为其盟友进行治疗,这些施法必须被打断。
精英剑圣会同时锁定一个目标,并齐齐向其发动攻击。
这会造成极高的物理伤害,必须通过减伤技能来减轻。
