
- Throne of Thunder
- Manaforge Omega
- MSV / HoF / ToES
- Liberation of Undermine
- Dragon Soul
- Nerub-ar Palace
- TotFW / BWD / BoT
- Ruby Sanctum
- Rotmire
- Imperator Averzian
- Vorasius
- Vaelgor & Ezzorak
- Fallen-King Salhadaar
- Lightblinded Vanguard
- Crown of the Cosmos
- Chimaerus the Undreamt God
- Belo'ren, Child of Al'ar
- Midnight Falls
- Immerseus
- Fallen Protectors
- Norushen
- Sha of Pride
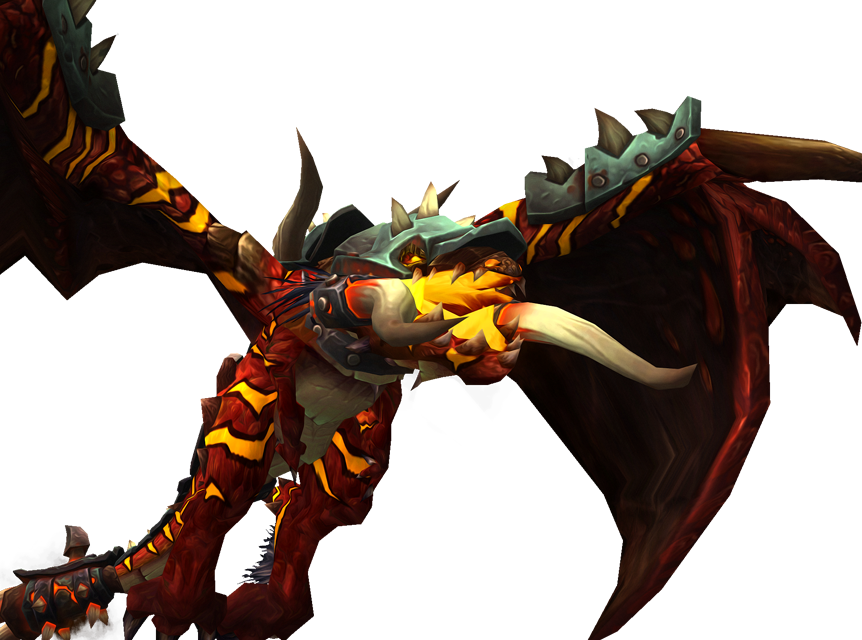
- Galakras
- Iron Juggernaut
- Kor'kron Dark Shaman
- General Nazgrim
- Malkorok
- Spoils of Pandaria
- Thok the Bloodthirsty
- Siegecrafter Blackfuse
- Paragons of the Klaxxi
- Garrosh Hellscream
- Jin'rokh the Breaker
- Horridon
- Council of Elders
- Tortos
- Megaera
- Ji-Kun
- Durumu the Forgotten
- Primordius
- Dark Animus
- Iron Qon
- Twin Empyreans
- Lei Shen
- Ra-den
- Plexus Sentinel
- Loom'ithar
- Soulbinder Naazindhri
- Forgeweaver Araz
- The Soul Hunters
- Fractillus
- Nexus-King Salhadaar
- Dimensius, the All-Devouring
- The Stone Guard
- Feng the Accursed
- Gara'jal the Spiritbinder
- The Spirit Kings
- Elegon
- Will of the Emperor
- Imperial Vizier Zor'lok
- Blade Lord Ta'yak
- Garalon
- Wind Lord Mel'jarak
- Amber-Shaper Un'sok
- Grand Empress Shek'zeer
- Protectors of the Endless
- Tsulong
- Lei Shi
- Sha of Fear
- Vexie and the Geargrinders
- Cauldron of Carnage
- Rik Reverb
- Stix Bunkjunker
- Sprocketmonger Lockenstock
- One-Armed Bandit
- Mug'Zee, Heads of Security
- Chrome King Gallywix
- Morchok
- Warlord Zon'ozz
- Yor'sahj the Unsleeping
- Hagara the Stormbinder
- Ultraxion
- Majordomo Staghelm
- Spine of Deathwing
- Madness of Deathwing
- Ulgrax the Devourer
- Bloodbound Horror
- Sikran, Captain of the Sureki
- Rashanan
- Broodtwister Ovinax
- Nexus Princess Kyveza
- Silken Court
- Queen Ansurek
- Conclave of Wind
- Al'akir
- Omnotron Defense System
- Magmaw
- Atramedes
- Chimaeron
- Maloriak
- Nefarian
- Halfus Wyrmbreaker
- Valiona & Theralion
- Ascendant Council
- Cho#gall
- Sinestra
- Kazzara
- The Amalgamation Chamber
- The Forgotten Experiments
- Assault of the Zaqali
- Rashok, the Elder
- Zskarn
- Magmorax
- Echo of Neltharion
- Scalecommander Sarkareth
- Lord Marrowgar
- Lady Deathwhisper
- Gunship Battle
- Deathbringer Saurfang
- Festergut
- Rotface
- Professor Putricide
- Blood Prince Council
- Blood-Queen Lana'thel
- Valithria Dreamwalker
- Sindragosa
- The Lich King
- Halion
- Northrend Beasts
- Lord Jaraxxus
- Faction Champions
- Twin Val'kyr
- Anub'Arak
战术攻略
Galakras is a two phase fight.
You need to clear waves of adds, while waiting for towers to unlock.
Clear the towers with a smaller group to unlock the Anti-Air Turret.
Use both turrets to shoot down the boss.
Rough prio: Kill Healing Tide Totems and Banners ASAP. Kill Demolishers and Bonecrushers, watch where Ebon Stalkers teleport, and avoid Shadow Assault.
Mobs have increased health and damage.
Towers no longer get automatically unlocked; you need to protect a friendly NPC for about 90 seconds to unlock the door.
If the NPC dies, the process resets. Assign a group to stand near tower to protect the NPC.
非常感谢 Pit & Jeri 作为中文文本的编辑所做的出色工作。
During P1, you'll only fight adds that come in waves. There are 8 waves, with random mobs.
Wave 3 will have the first ground mini-boss (Korgra the Snake)
Wave 4 spawns the first tower boss (Lieutenant Krugruk)
Wave 7 has the second ground boss (High Enforcer Thranok)
Wave 8 has the last tower boss (Master Cannoneer Dagryn)
DPS
FOCUS FLAG

Flagbearers put down banners that buff all other enemies. Make sure to focus down the War Banners ASAP!
DPS
NUKE DEMOLISHERS

Demolishers will spawn throughout the fight, bombarding the tower you're currently fighting for.
This deals heavy damage to any players in the tower.
DPS
KILL TOTEMS

Tidal Shamans will occasionally summon Healing Tide Totems, which do a large amount of healing to all nearby targets.
These should be focused.

Tidal Shamans cast Tidal Waves on players, dealing some damage and knocking back any players hit.
This can and should be interrupted as much as possible.

Bonecrushers charge towards the friendly NPCs, casting Fracture. This deals 10% of the target's health every second.
They also continuously cast Shattering Roar, dealing damage to the raid and the friendly NPCs.

Flameslingers shoot at random players, leaving fire on the ground around them.

Proto-Drakes will be flying in the skies above, casting on random players.
They can be shot down using the Anti-Air Turrets on top of the towers.

Tidal Shamans will occasionally cast Chain Heal, which will heal nearby enemies.
This can and should be interrupted as much as possible.

Ebon Stalkers teleport behind random raid members, and after a few seconds, they'll cast Shadow Assault and deal (likely) fatal damage. MOVE!

Grunts deal heavy melee damage and need to be picked up by the tanks.
They also sometimes use Throw Axe on ranged players, dealing damage and stunning.
Tidal Shamans cast Tidal Waves on players, dealing some damage and knocking back any players hit.
This can and should be interrupted as much as possible.
Tidal Shamans will occasionally cast Chain Heal, which will heal nearby enemies.
This can and should be interrupted as much as possible.
Bonecrushers charge towards the friendly NPCs, casting Fracture. This deals 10% of the target's health every second.
They also continuously cast Shattering Roar, dealing damage to the raid and the friendly NPCs.
Ebon Stalkers teleport behind random raid members, and after a few seconds, they'll cast Shadow Assault and deal (likely) fatal damage. MOVE!
Flameslingers shoot at random players, leaving fire on the ground around them.
Grunts deal heavy melee damage and need to be picked up by the tanks.
They also sometimes use Throw Axe on ranged players, dealing damage and stunning.
Proto-Drakes will be flying in the skies above, casting on random players.
They can be shot down using the Anti-Air Turrets on top of the towers.
Korgra enters about 2 minutes into the fight with Wave 3.
She spawns with two Dragonmaw Ebon Stalkers.
High Enforcer Thranok spawns about 4 minutes in, with Wave 7.
TANKS
PICK UP THE SNAKE

Korgra spawns about 2 minutes into the fight.
She needs to be picked up by a tank and applies a stacking debuff, dealing increased ticking Nature damage with each stack.
Once Korgra reaches 50% health, she buffs herself with Curse of Venom.
This enables her to cast Venom Bolt Volley, which deals raid-wide damage.
TANKS
MOVE FROM POISON

Korgra places pools of poison below her feet throughout the fight.
Kite the boss around to help melees avoid.
EVERYONE
MOVE FROM SKULL CRACKER

Thranok hooks random players with chains, pulling them to him (5 players in 10-man, 10 players in 25-man).
Immediately after casting Crusher's Call, Thranok channels Skull Cracker for 2 seconds. This deals massive damage to all players within 10 yards.
If you get hooked in, MOVE OUT!

Thranok cleaves his target and nearby players.
Thranok cleaves his target and nearby players.
The first tower (on the left) has Lieutenant Krugruk. This becomes available with Wave 4.
(On heroic, this needs to be unlocked by protecting a friendly NPC for 90s)
The second tower has Master Cannoneer Dagryn. This becomes available with Wave 8.
(On heroic, this needs to be unlocked by protecting a friendly NPC for 90s)
The towers also have adds to clear as you're running up the stairs.

In the first tower, Krugruk faces a random direction and casts Arcing Smash. This deals damage in a frontal cone and knocks back any players hit.
He also casts Thunder Clap, dealing damage to all nearby players and giving them a stacking 25% reduced movement speed buff.
AVOID the frontal!

Dagryn does several frontal cone attacks, knocking players back and dealing a large amount of damage.
She will move around and shoot in random directions. Run and avoid as much as possible.
When she is not casting Muzzle Spray, she spams Shoot at random players.
In the first tower, Krugruk faces a random direction and casts Arcing Smash. This deals damage in a frontal cone and knocks back any players hit.
He also casts Thunder Clap, dealing damage to all nearby players and giving them a stacking 25% reduced movement speed buff.
AVOID the frontal!
Dagryn does several frontal cone attacks, knocking players back and dealing a large amount of damage.
She will move around and shoot in random directions. Run and avoid as much as possible.
When she is not casting Muzzle Spray, she spams Shoot at random players.
After both turrets shoot Galakras at the same time, he falls to the ground and becomes attackable.
RANGED
STACK AND SOAK

Throughout this phase, Galakras shoots a ball of fire at a random player. This moves slowly towards the player's position and can be soaked to reduce the damage when it reaches.
Any players soaking this get a stacking fire dot.

Galakras pulses raid-wide damage throughout the phase. He also gains a stacking buff, increasing his fire damage by 2% per stack.
Kill Galakras before he kills you.
Galakras pulses raid-wide damage throughout the phase. He also gains a stacking buff, increasing his fire damage by 2% per stack.
Kill Galakras before he kills you.
