
- Throne of Thunder
- Manaforge Omega
- MSV / HoF / ToES
- Liberation of Undermine
- Dragon Soul
- Palazzo dei Nerub-ar
- TotFW / BWD / BoT
- Aberrus
- Icecrown Citadel
- Ruby Sanctum
- Trial of the Crusader
- Rotmire
- Imperator Averzian
- Vorasius
- Vaelgor & Ezzorak
- Fallen-King Salhadaar
- Lightblinded Vanguard
- Crown of the Cosmos
- Chimaerus the Undreamt God
- Belo'ren, Child of Al'ar
- Midnight Falls
- Immerseus
- Fallen Protectors
- Norushen
- Sha of Pride
- Galakras
- Iron Juggernaut
- Kor'kron Dark Shaman
- General Nazgrim
- Malkorok
- Spoils of Pandaria
- Thok the Bloodthirsty
- Siegecrafter Blackfuse
- Paragons of the Klaxxi
- Garrosh Hellscream
- Jin'rokh the Breaker
- Horridon
- Council of Elders
- Tortos
- Megaera
- Ji-Kun
- Durumu the Forgotten
- Primordius
- Dark Animus
- Iron Qon
- Twin Empyreans
- Lei Shen
- Ra-den
- Plexus Sentinel
- Loom'ithar
- Soulbinder Naazindhri
- Forgeweaver Araz
- The Soul Hunters
- Fractillus
- Nexus-King Salhadaar
- Dimensius, the All-Devouring
- The Stone Guard
- Feng the Accursed
- Gara'jal the Spiritbinder
- The Spirit Kings
- Elegon
- Will of the Emperor
- Imperial Vizier Zor'lok
- Blade Lord Ta'yak
- Garalon
- Wind Lord Mel'jarak
- Amber-Shaper Un'sok
- Grand Empress Shek'zeer
- Protectors of the Endless
- Tsulong
- Lei Shi
- Sha of Fear
- Vexie and the Geargrinders
- Cauldron of Carnage
- Rik Reverb
- Stix Bunkjunker
- Sprocketmonger Lockenstock
- One-Armed Bandit
- Mug'Zee, Heads of Security
- Chrome King Gallywix
- Morchok
- Warlord Zon'ozz
- Yor'sahj the Unsleeping
- Hagara the Stormbinder
- Ultraxion
- Majordomo Staghelm
- Spine of Deathwing
- Madness of Deathwing
- Ulgrax the Devourer
- Bloodbound Horror
- Sikran, Captain of the Sureki
- Rashanan
- Broodtwister Ovinax
- Nexus Princess Kyveza
- Silken Court
- Queen Ansurek
- Conclave of Wind
- Al'akir
- Omnotron Defense System
- Magmaw
- Atramedes
- Chimaeron
- Maloriak
- Nefarian
- Halfus Wyrmbreaker
- Valiona & Theralion
- Ascendant Council
- Cho#gall
- Sinestra
- Kazzara
- The Amalgamation Chamber
- The Forgotten Experiments
- Assault of the Zaqali
- Rashok, the Elder
- Zskarn
- Magmorax
- Echo of Neltharion
- Scalecommander Sarkareth
- Lord Marrowgar
- Lady Deathwhisper
- Gunship Battle
- Deathbringer Saurfang
- Festergut
- Rotface
- Professor Putricide
- Blood Prince Council
- Blood-Queen Lana'thel
- Valithria Dreamwalker
- Sindragosa
- The Lich King
- Halion
- Northrend Beasts
- Lord Jaraxxus
- Faction Champions
- Twin Val'kyr
- Anub'Arak
Throne of Thunder
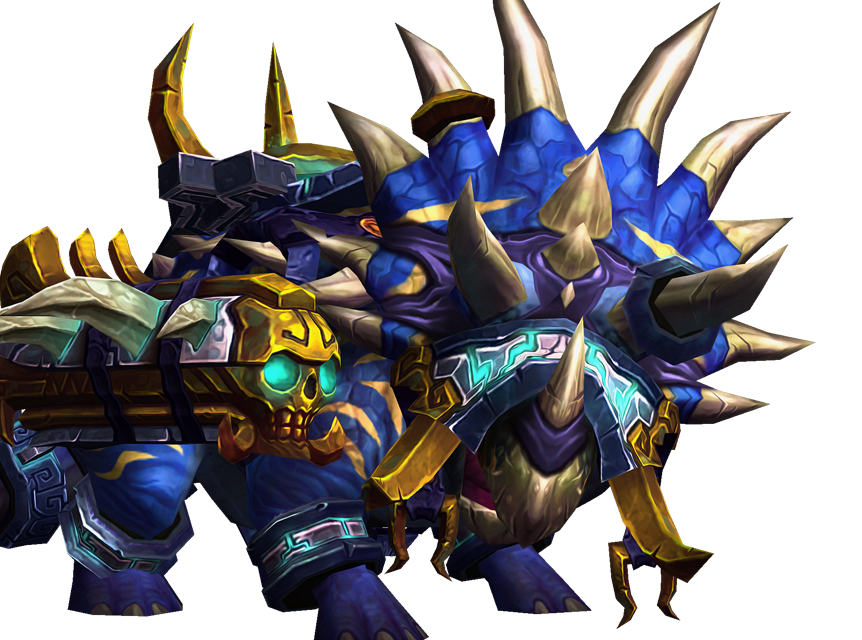
Horridon
Guida alla Strategia
One tank should stay on the boss while the other focuses on picking up adds.
Focus on landing interrupts and dispels to counter most of the dangerous spells from the troll forces.
Charge the boss into the doors to increase his damage taken.
Localizzazione italiana a cura di Lunaedge. Per qualsiasi domanda, correzione o richiesta di chiarimento è possibile contattarmi su una delle piattaforme presenti nel link, preferibilmente Discord!
Horridon is active throughout the fight and needs to be tanked.
Dinomancers will spawn at a set time after each door opens.
They need to be DPSed down, so they drop their Orb of Command, which the raid can use to force Horridon to charge and close each door.
EVERYONE
AVOID GETTING HIT

A frontal and rear cone attack that deals heavy Physical damage.
The raid should always stand on the side of the boss to avoid getting hit.
USE THE ORB
TO CLOSE THE DOOR

At 50% health, the DInomancer gains a 50% damage done buff, stops casting Dino-Mending, and drops the Orb of Control.
A player must click the Orb of Control (starting a Channeled cast) and force Horridon to charge into the current door.
Horridon will be stunned for 10 seconds and gain a stack of Cracked Shell, a 50% damage taken buff. He gains one stack per door closed.

Horridon applies a stacking Physical bleed that increases damage taken from subsequent Triple Punctures by 10%.
A single tank can be used, but needs to manage cooldowns effectively as the fight goes on.

The dinomancer channels a heal that restores 1% health to Horridon every second.
Must be interrupted.

Horridon charges toward a player and performs a Double Swipe.
The fixated player should run in front of the boss to keep him facing the same way, making it easier for the raid to dodge Double Swipe.
Horridon applies a stacking Physical bleed that increases damage taken from subsequent Triple Punctures by 10%.
A single tank can be used, but needs to manage cooldowns effectively as the fight goes on.
Horridon charges toward a player and performs a Double Swipe.
The fixated player should run in front of the boss to keep him facing the same way, making it easier for the raid to dodge Double Swipe.
The dinomancer channels a heal that restores 1% health to Horridon every second.
Must be interrupted.
The Farraki door spawns Skirmishers, Wastewalkers, and Stonegazers.
Recommended kill order is Wastewalker > Stonegazer > Skirmisher, but always prio the Dino-mancer once it spawns.
EVERYONE
AVOID THE TRAP

The Farraki Wastewalkers create a growing patch of sand that deals Nature damage and expands over time.

A 10-second stun on the Stonegazers' target, which should be interrupted.
If the stun lands, it can be dispelled.

Farraki Wastewalkers apply a fire dot that can be dispelled.
A 10-second stun on the Stonegazers' target, which should be interrupted.
If the stun lands, it can be dispelled.
Farraki Wastewalkers apply a fire dot that can be dispelled.
The Gurubashi door spawns Bloodlords, Venom Priests, and Venomous Effusions.
Recommended kill order is Venom Effusions > Venom Priest > Bloodlord, but always prio the Dino-mancer once it spawns.
EVERYONE
MOVE AWAY

Venomous Effusions leave pools of Living Poison that deal Nature damage to players standing inside. These pools move around slowly.

A Gurubashi raptor charges a player and applies a bleed that deals strong Physical damage over 15 seconds.

A cast that must be interrupted to avoid a stacking DoT on the whole raid.
If a cast goes through, this DoT can be dispelled with a Poison dispel.
A Gurubashi raptor charges a player and applies a bleed that deals strong Physical damage over 15 seconds.
A cast that must be interrupted to avoid a stacking DoT on the whole raid.
If a cast goes through, this DoT can be dispelled with a Poison dispel.
The Drakkari door spawns Champions, Warriors, Frozen Warlords, and Frozen Orbs.
Recommended kill order is Warlords > Warriors / Champions, but always prio the Dino-mancer once it spawns.
EVERYONE
AVOID ORBS

Warlords spawn orbs that slowly move around and cast Frozen Bolt to anyone within 8 yards, reducing their movement speed.

Champions and Warriors will attack random players, applying Deadly Plague, a dot that lasts for 5 minutes but can be dispelled.

Tanks will be targeted by a Mortal Strike that reduces healing received by 50% for 8 seconds.
Champions and Warriors will attack random players, applying Deadly Plague, a dot that lasts for 5 minutes but can be dispelled.
Tanks will be targeted by a Mortal Strike that reduces healing received by 50% for 8 seconds.
The Amani door spawns Protectors, Flame Casters, Warbears, and Beast Shamans.
Recommended kill order is Beast Shaman > Warbear / Flame Caster > Protectors, but always prio the Dino-mancer once it spawns.
EVERYONE
MOVE OR KILL THE TOTEM

A totem that charges and explodes for heavy Nature damage within 8 yards.
It's generally better to avoid standing in the damage than killing the totem.

Deals massive Fire damage to a single player. Can and should be interrupted.

The shamans target a random player with Chain Lightning, which bounces up to 3 times to players within 5 yards, dealing 50% more damage per bounce.
This should be interrupted.

A 5-yard frontal cleave that does large Physical damage. This should be faced away from the raid.

A decurseable hex that causes players to have a 50% chance to injure themselves upon using an ability.
Deals massive Fire damage to a single player. Can and should be interrupted.
A 5-yard frontal cleave that does large Physical damage. This should be faced away from the raid.
The shamans target a random player with Chain Lightning, which bounces up to 3 times to players within 5 yards, dealing 50% more damage per bounce.
This should be interrupted.
A decurseable hex that causes players to have a 50% chance to injure themselves upon using an ability.
After the four doors are cleared, War-God Jalak joins the fight, and Horridon becomes empowered if Jalak dies.

Raid-wide ramping Physical damage that increases each cast. Requires raid cooldowns for the later casts.

If Jalak dies, Horridon gains the Rampage buff. This increases his damage done by 100%, and attack speed by 50%.
In general, this mechanic should be avoided by just tanking Jalak while killing Horridon.
Raid-wide ramping Physical damage that increases each cast. Requires raid cooldowns for the later casts.
If Jalak dies, Horridon gains the Rampage buff. This increases his damage done by 100%, and attack speed by 50%.
In general, this mechanic should be avoided by just tanking Jalak while killing Horridon.
